stage and rehearsal prep
Custom-tuned viola overdubs: a teacher's cue sheet when the pitch meter will not settle
A practical studio-overdub cue sheet for music teachers using custom viola tuning, focused on unstable pitch readings, headphone bleed, guide-track reference, and fast recording decisions.
Short answer
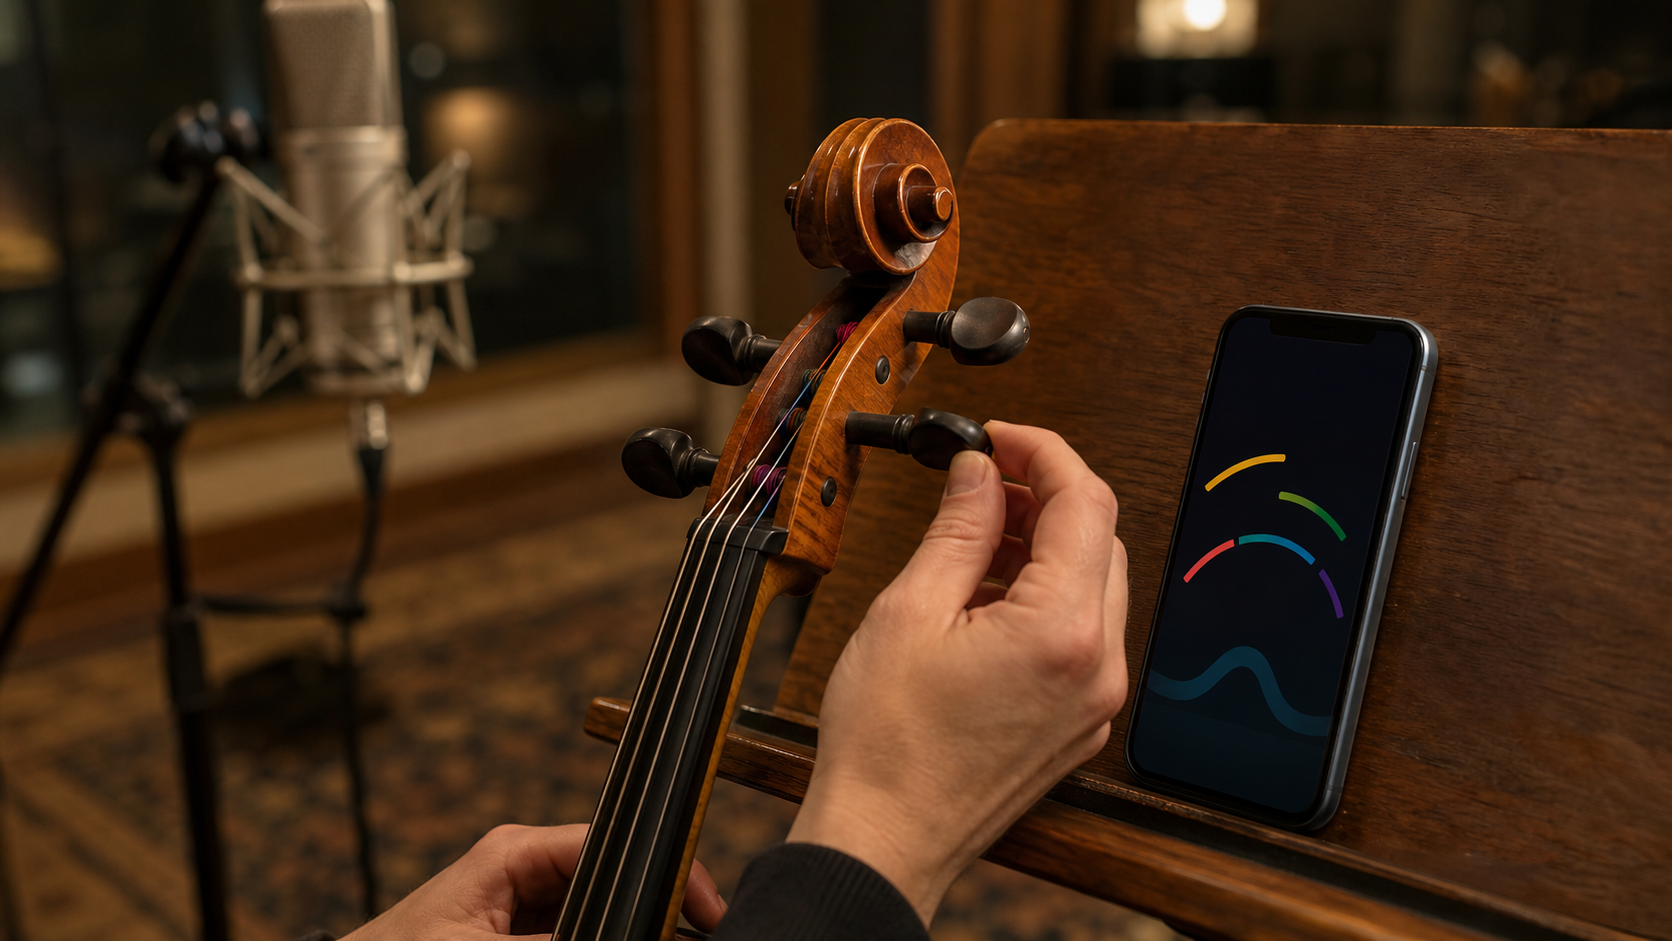
For custom viola tuning during studio overdubs, a teacher should first write the target map in low-to-high instrument order, confirm the session reference pitch, and ask for one clean bowed tone before any doubled take. If the pitch meter jumps between nearby notes, reduce room noise, move the phone closer to the f-hole but away from the click or guide track, and play a steadier tone. TuneLT can help with local microphone pitch detection and saved viola presets, but the final check should be whether the overdub blends with the recorded reference.
The overdub problem is not the same as tuning in a lesson room
A custom-tuned viola overdub asks the player to match two references at once: the acoustic instrument in the room and the track that is already in the session. In a lesson studio, an unsettled meter may only slow the warm-up. During an overdub, it can trigger repeated retakes because nobody is sure whether the source, the guide track, the headphone cue, or the microphone position is causing the confusion.
The session might need a lowered upper course for color, a scordatura sonority, or a simplified teaching version of a line that will later be replayed. The target may be musically sensible, but it is not the familiar classroom map. If the pitch display jumps before the take, the teacher has to separate detection noise from a real tuning error.
The useful goal is not a perfect-looking screen. The useful goal is a reference stable enough for the next pass to blend with the existing material. That means confirming the custom target, creating a quiet detection moment, and keeping a fast fallback for the recording schedule.
- Studio overdubs must match the recorded reference, not only the live room.
- Custom mapping needs written targets before the microphone is open.
- A jumping display is a diagnostic clue, not an automatic reason to retune every string.
Start by naming the target map out loud
Before anyone reaches for pegs, the teacher should name the custom map in physical order from low to high. A special setup might lower one course, raise another for resonance, or use a saved target supplied by another player. In overdub work, the exact spelling matters less than the shared agreement: the lowest course is supposed to land here, the next one here, and the recorded line should be checked against that plan.
Writing the targets prevents a common studio mistake. A player sees the meter react, assumes the nearest label is the intended label, and adjusts toward the wrong place. With a custom map, nearby-note confusion can happen quickly because the ear still expects the familiar classroom layout while the recording asks for something else. A written target list lets the teacher ask a better question: is the device hearing the wrong pitch, or did we forget what the take requires?
Reference pitch belongs in the same conversation. If the session follows concert reference, say so. If the guide track came from a piano, synth pad, old rehearsal bounce, or school ensemble recording that sits a little high or low, identify that before the overdub. A meter can show cents, but it cannot decide whether the new layer should follow concert reference or the actual pitch center of the existing take.
- Write the four targets from low to high.
- Confirm whether the session follows concert reference or an existing guide track.
- Keep the target list visible while recording custom-tuned takes.
Why the meter jumps during a take setup
A meter usually jumps because the microphone is receiving more than one convincing cue. In a studio, that cue can be the instrument, headphone bleed, a click in the room, a resonating aftertone, a sympathetic vibration from a stand or piano, or the early scratch of the bow before the tone settles. The display is trying to describe the strongest periodic sound it hears at that moment.
A bowed alto line makes this especially noticeable because the sound contains strong overtones and a slower attack than a plucked note. The tone may start rough, lean into the intended center, and then bloom. If the meter listens to the unstable start, it may briefly prefer a nearby label or octave. If the custom map places a target near a note already present in the guide, the phone may hear the room instead of the player's instrument.
This is why the first fix is not always peg movement. Ask whether the device is hearing a clean, sustained tone. Ask whether the player is bowing near the bridge with steady speed. Ask whether the monitor, metronome, talkback, or previous track is audible in the room. A noisy input can make a good take look suspicious before the music has even started.
- Mute monitor speakers while checking the source.
- Use headphones that do not leak strongly into the room.
- Ignore the first rough fraction of the bowed note and judge the settled sound.
A practical TuneLT workflow for the teacher
TuneLT fits best as the quick pitch-check step inside a larger studio routine. Choose viola, open the custom target, and verify that the screen matches the written map before touching the instrument. If the setup was sent by a student or another helper, inspect it slowly. A mismatched map can be more damaging than a pitch that is only a few cents out, because it points the whole session toward the wrong correction.
When checking, place the phone where it hears the player more clearly than the room. A practical spot is near the stand and slightly toward the f-hole, not on a vibrating shelf, not next to a monitor, and not under the teacher's voice. TuneLT uses local microphone pitch detection for this immediate check, so the screen is responding to the sound around the device. That does not mean every app service is offline; store, subscription, ads, analytics, sharing links, and other platform services are separate from the act of hearing the pitch.
Save the custom target only after the notes are confirmed in the room. Use a name that makes the session easy to recover later, such as low upper course texture, lesson demo scordatura, or overdub cue take. If the setup must be shared, TuneLT's preset and QR sharing features can help keep helpers aligned, but the teacher should still make a spoken confirmation before recording.
- Open the saved target and compare it with the written map.
- Tune one steady bowed open string at a time.
- Save or share only after the session target is confirmed.
Keep a fast fallback so the session does not stall
The brief for this situation asks for a fast fallback for noisy-stage conditions, and the same habit matters in a studio. Recording time can disappear while everyone waits for a custom setup to behave. A teacher should decide in advance what happens if the meter keeps jumping: pause the room noise, check the written target, move the phone, ask for a cleaner bow stroke, and then choose between continuing the custom map or returning to a reliable reference.
A fallback does not mean giving up on the musical idea. It means protecting the take. If the altered setup is essential to the sound, slow down and isolate it properly. If it was only a rehearsal convenience, consider recording the line in the normal layout and adjusting the part or fingering plan. If the track already contains a reference drone, use that drone as the musical judge after the source is close.
Teachers are especially valuable here because they can make the musical call. A student may watch the display and feel that the session is failing. The teacher can say, the source is close enough, the guide track is our judge, and the next take will tell us more than another two minutes of screen watching.
- If detection jumps, first quiet the room before moving pegs.
- If the saved target is suspect, return to the written list.
- If the take is waiting, choose the musical fallback instead of extending uncertainty.
Use cents to protect blend, not to chase perfection
Cents measure small pitch differences: one semitone contains 100 cents. In overdub work, cents are useful because they show direction. A line that is consistently ten cents sharp against the guide track needs a decision. A tone that flickers by two or three cents while the bow settles may not matter if the doubled passage blends naturally.
The trap is using cents without listening to the recording context. The instrument can read accurately in isolation and still sound wrong against a guide track that was recorded slightly flat. Another take can look imperfect on a meter and still sit better because the player matched the original performance's energy, bow contact, and vibrato width. For studio overdubs, the pitch check gives a starting point; playback decides whether the layer belongs.
After checking, record a short test phrase instead of a full pass. Listen for beating, rough unisons, octave disagreement, and whether the new layer pushes the harmony sharp or flat. If the problem appears only during double-stops or fingered notes, the basic reference may be fine and the teacher should address hand shape, finger pressure, or the altered spacing caused by the custom setup.
- Use cents to see pitch direction.
- Use playback to judge blend with the existing take.
- Diagnose fingered-note problems separately from open-string tuning.
Use a three-pass recording cue
A teacher can keep the session calm by treating the first minute as three short passes. Pass one is the silent map check: the player does not play, the teacher points to the written targets, and the engineer or helper confirms that the guide track and click are not bleeding into the room. Pass two is the source check: one sustained bow stroke, no talking, no monitor speaker, and no full phrase yet.
Pass three is the musical check. Record four or eight bars against the guide and listen back immediately. Do not judge only the soloed track. Listen with the existing layer, because overdub intonation lives in relationship: unisons, octaves, thirds, drones, and sustained harmony reveal different problems. A line that feels centered alone can smear against a double; a line that looks a few cents off can sit naturally when the bow shape matches the earlier take.
This cue method also gives the teacher language for students. Instead of saying the tuner is confused, say the room is giving the microphone too many clues, so we are making the clue simpler. Instead of saying the note is wrong, say the guide track is asking for a slightly different center. The student learns a recording habit rather than a fear of the display.
- Pass one: silent target and cue check.
- Pass two: isolated sustained tone.
- Pass three: four or eight bars against playback.
A studio checklist for custom viola overdubs
Use this checklist before the first real take. It keeps the teacher, player, and helper focused on the recording problem rather than the display problem. The order matters because it starts with musical agreement, then sound isolation, then pitch detection, then a quick playback decision.
First, name the custom map and write the targets low to high. Second, confirm the reference: concert pitch, a piano, a synth, or the guide track itself. Third, quiet the room and reduce headphone or monitor leakage. Fourth, open the saved setup, compare it with the written map, and check settled bowed tones. Fifth, record a short test phrase and judge the blend. Sixth, keep the setup only if it proved useful in the room.
If the pitch meter jumps between nearby notes at any step, do not panic. Repeat the clean-input test once. If it still jumps, use the fallback: normal layout, guide-track drone, teacher's ear, or a shorter tuning change that protects the take. The best studio routine is the one that gets the player listening again.
- Write the target notes and reference pitch.
- Quiet competing sound before tuning.
- Compare the saved setup with the written map.
- Tune from steady bowed open strings.
- Record a short test phrase before committing to the full overdub.
- Use a fallback setup or guide-track reference if the display keeps jumping.
Questions this guide answers
Why does a viola tuner jump between nearby notes during overdubs?
It usually means the microphone is hearing mixed cues: bow attack, room noise, headphone leak, a monitor, sympathetic resonance, or a guide track. Quiet the room, move the phone closer to the instrument, and judge the settled part of one bowed tone.
How should music teachers prepare custom viola tuning for studio overdubs?
Write the target notes in low-to-high order, confirm the reference pitch, compare the saved setup with that written map, check one bowed tone at a time, and record a short test phrase before committing to the full take.
Can TuneLT save a custom viola tuning for recording sessions?
TuneLT supports viola presets and sharing workflows, so a teacher can save a confirmed custom setup and reuse or share it. The saved setup should still be checked against the written target notes before each recording session.
Should an overdub follow A440 or the guide track?
If the guide track is the musical reference, the overdub usually needs to blend with that track even when it is not exactly A440. Use the tuner to establish a clear starting point, then use playback to judge whether the layer sits in tune.